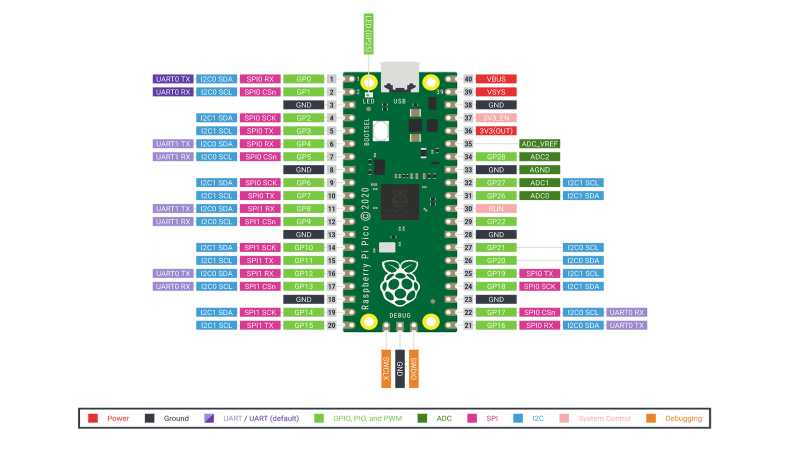
The RaspberryPi Pico was released earlier this year and I haven’t seen this much hype since the Arduino or the original RaspberryPi. It looked good, and it is very cheap (you can get one for less than 4£) so i got one to play around.
Why am i writing this ?
There are plenty of good tutorials, examples, and books for the RaspberryPi Pico, so anything i write about here is most likely available somewhere else. But for my own benefit I decided to explore the different key features of the Pico and document them in a series of posts.
Getting started
Install and Connect
- Install the MicroPython UF2 file This was very simple to do, download the pre-compiled file from the website and drop it to the mounted RPI-RP2 USB device

- Connecting to the REPL
brew install minicom # needed for serial communications with the device
ls /dev/tty.usbmodem0000000000001 # confirm the device is available
minicom -b 115200 -o -D /dev/tty.usbmodem0000000000001
Gotchas
- To mount the Pico in mass device mode, press and keep pressing the button for a bit after you connect the usb cable.
- To get the REPL, do not press the button when connecting the device, it should appear as
/dev/tty.usbmodem0000000000001
Hello World
>>> help()

Welcome to MicroPython!

For online help please visit https://micropython.org/help/.

For access to the hardware use the 'machine' module.  RP2 specific commands
are in the 'rp2' module.
...

>>> print("Hello World")

Hello World
Blink
from machine import Pin
import time

led = Pin(25, Pin.OUT) # Pin 25 is attached to the on device LED

for i in range(10):
    led.toggle()
    time.sleep(0.5)
Blink with Timer
This uses the built in timer to control the blinking frequency
The system timer peripheral on RP2040 provides a global microsecond timebase for the system, and generates interrupts based on this timebase. It supports the following features: A single 64-bit counter, incrementing once per microsecond.
from machine import Pin, Timer

led = Pin(25, Pin.OUT) # Pin 25 is attached to the on device LED

def blink(timer):
    global led
    led.toggle()

timer = Timer()
timer.init(freq=0.5, mode=Timer.PERIODIC, callback=blink)
Writing code in an Editor
The official tutorial recommends using Thonny but i prefer using vscode. To do that you need the Pico-Go extension
How do python files get uploaded ?
The official docs do not mention this explicitly, but looking around I found Adafruit MicroPython tool which is used for uploading code to Adafruit MicroPython boards. Looking at the code gives a clue to how simple yet annoying it is.
# https://github.com/scientifichackers/ampy/blob/master/ampy/files.py

# ...
# remotely execute open file
self._pyboard.exec_("f = open('{0}', 'wb')".format(filename))

# convert files to chunks then write them remotely
self._pyboard.exec_("f.write({0})".format(chunk))
This is not necessarily how it exactly works in Pico-Go or on the RaspberryPi Pico, but it gives me a mental model of how its working under the hood
Conclusion
- Setting up the Pico with MicroPython is fairly simple.
- The timer on the Pico can be used to schedule fairly accurate ticks.
- REPL helps to play around quickly, but for anything practical we should use an Editor like vscode + pico-go or Thonny
- The official python documentation is pretty good
What to explore next ?
- Play with Temperature sensor
- USB device emulation (Keyboard & Mouse)
- Check floating point acceleration
- Explore the low power modes
- Explore dual core (Threads)